Calibrating Your 3D Printer: The Ultimate Guide
A well-calibrated 3D printer produces accurate, consistent, and high-quality prints. This comprehensive guide will walk you through the essential calibration procedures every 3D printing enthusiast should master.
Why Calibration Matters
Proper calibration: - Improves dimensional accuracy - Enhances surface finish - Reduces print failures - Minimizes troubleshooting time - Extends printer lifespan
Essential Calibration Procedures
1. Bed Leveling
The foundation of good prints is a properly leveled bed.
Manual Leveling Process: 1. Heat bed to printing temperature 2. Home all axes 3. Disable steppers 4. Use paper test at each corner (paper should have slight resistance) 5. Check center point 6. Repeat process at least twice
Automatic Bed Leveling: 1. Ensure probe offset is correctly set 2. Verify Z-offset using paper test 3. Save settings to EEPROM 4. Still check occasionally with manual tests
2. Extruder Calibration (E-steps)
Ensures your printer extrudes exactly the amount of filament it should.
Procedure:
1. Mark filament 120mm from entry point
2. Heat nozzle to printing temperature
3. Command extrusion of 100mm
4. Measure remaining distance to mark
5. Calculate new E-steps:
New E-steps = Current E-steps × (100 ÷ Actual distance extruded)
6. Set new value and save to EEPROM
7. Verify with another 100mm test
3. Flow Rate Calibration
Fine-tunes extrusion for specific filaments.
Procedure:
1. Print a 20mm calibration cube with 2 perimeters, 0% infill
2. Measure wall thickness with calipers
3. Calculate flow rate:
New flow rate = (Designed wall thickness ÷ Measured thickness) × Current flow rate
4. Save this value in your slicer profile for this specific filament
4. Temperature Calibration
Temperature Tower Test: 1. Download or create a temperature tower model 2. Set temperature changes at different heights in your slicer 3. Print and evaluate results 4. Look for best layer adhesion, minimal stringing, good bridging 5. Record optimal temperature for each filament type
5. Retraction Calibration
Prevents stringing and oozing.
Procedure: 1. Print retraction test models (multiple towers or strings) 2. Start with default settings (5mm at 45mm/s for Bowden, 1.5mm at 35mm/s for direct drive) 3. Adjust in 0.5mm increments 4. Find minimum retraction distance that prevents stringing 5. Then optimize retraction speed
6. Acceleration and Jerk Tuning
Balances print speed with quality.
Procedure: 1. Print calibration patterns with features to show ringing/ghosting 2. Start with conservative values 3. Gradually increase until quality deteriorates 4. Set values just below the point where quality suffers 5. Consider different values for different print features
7. Linear Advance/Pressure Advance
Compensates for pressure in the nozzle during speed changes.
Procedure: 1. Print recommended test pattern for your firmware 2. Start with K-factor of 0 3. Test incremental values according to firmware documentation 4. Select K-factor showing most consistent extrusion at corners 5. Implement in start G-code or firmware settings
Creating Your Calibration Workflow
Develop a systematic approach:
- Initial setup: Bed leveling, E-steps, basic temperature settings
- Per-filament calibration: Flow rate, temperature tuning, retraction
- Maintenance calibration: Check bed level and E-steps monthly
- Advanced tuning: Linear advance, acceleration, jerk as needed
Documenting Your Settings
Keep detailed records of: - E-steps value - Flow rates for each filament - Temperature profiles - Retraction settings by material - Linear advance K-factors
Storing these in a spreadsheet or notebook ensures you can quickly set up optimal parameters for any project.
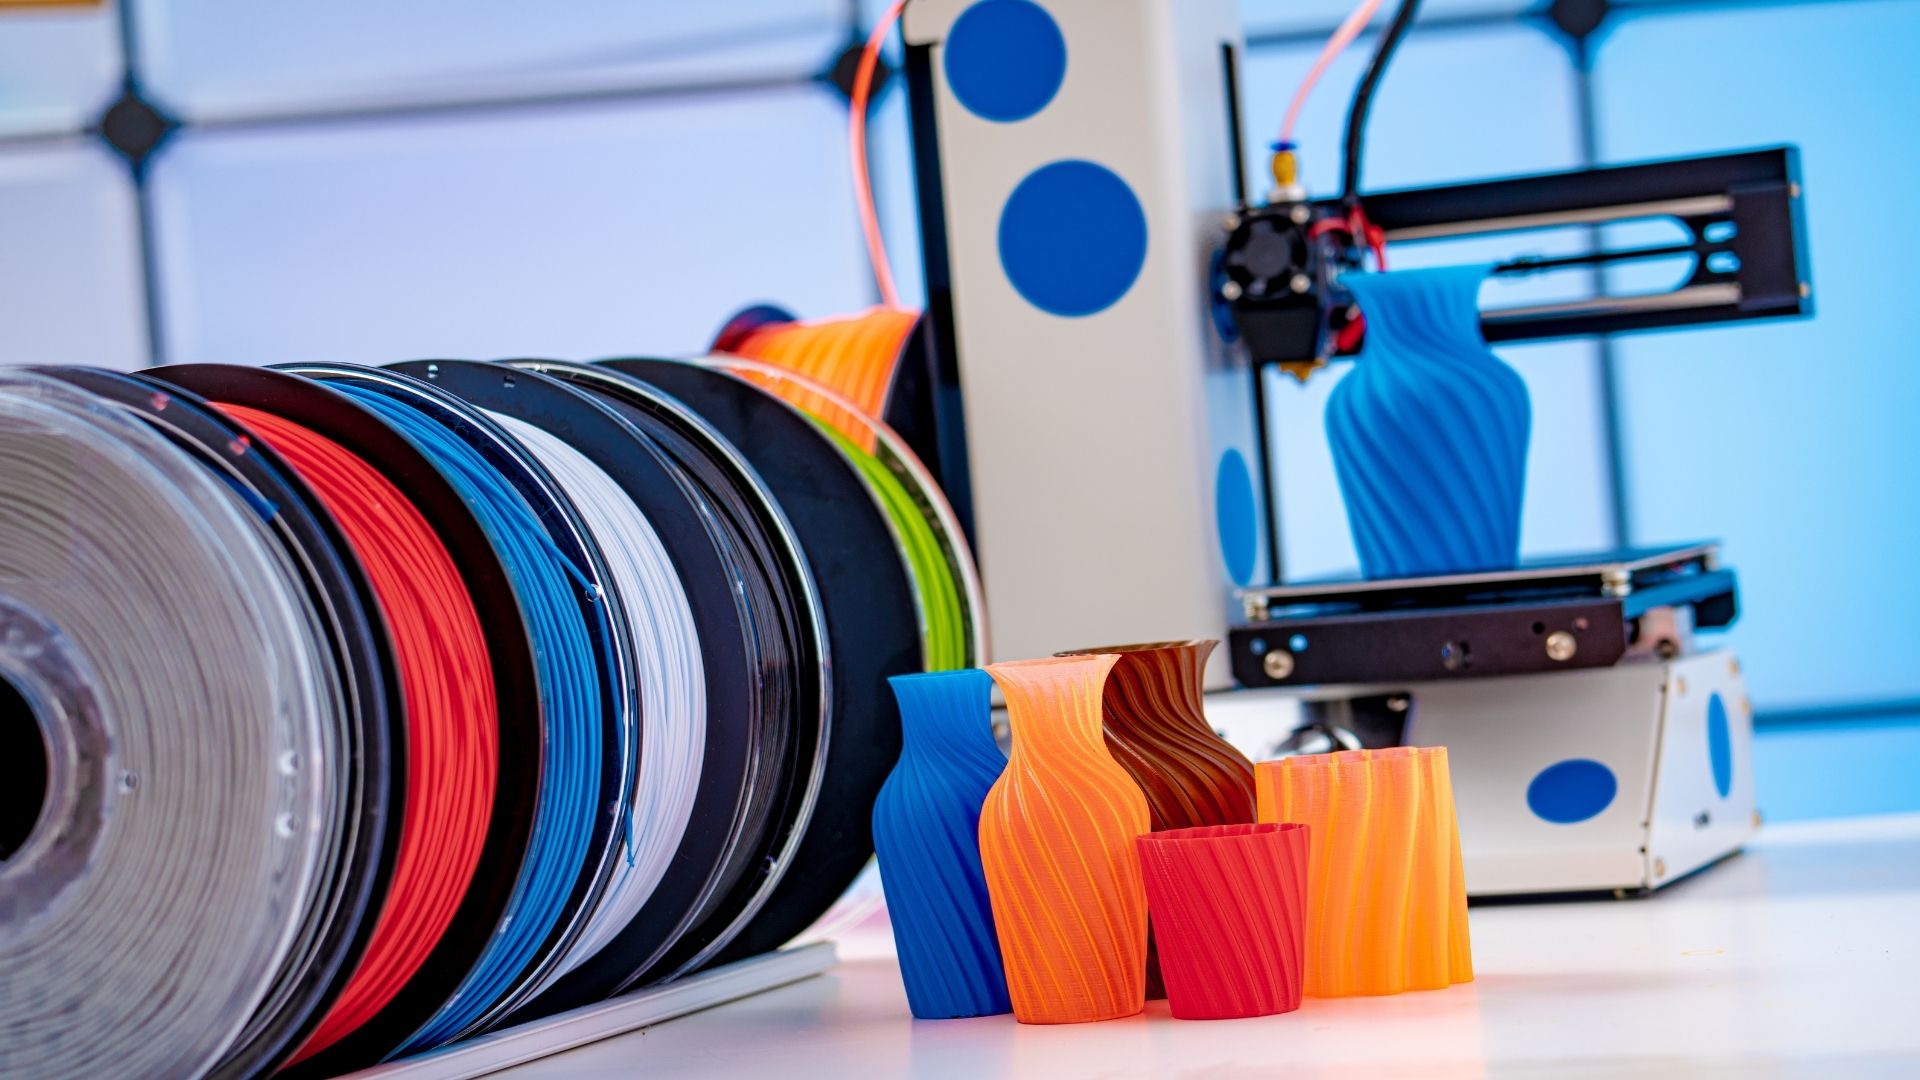
Calibration Test Models
These test prints help diagnose specific issues: - Calibration cube: Dimensional accuracy - Benchy: Overall print quality - Overhang test: Cooling and speed settings - Bridging test: Bridging capabilities - Retraction tower: Stringing issues - Tolerance test: Fitment accuracy
Remember, calibration is not a one-time process but an ongoing refinement. As your printer ages, parts wear, and you try new materials, recalibration helps maintain optimal performance.